Project:
Experiment with adding a keyfarmed object to the Cuts/Transitions Project from Last week
Keyframes
You can add keyfames to a layer.
Draw something (not on the background layer)
Now click the TRANSFORM TOOL and add a KEYFRAME
Move the PLAYHEAD and and another KEYFRAME
Now you can move the object on either KEYFRAME or inbetween!
Easing:
For effect, you can adjust your camera or layer movements so they ease in or ease out of the keyframes.
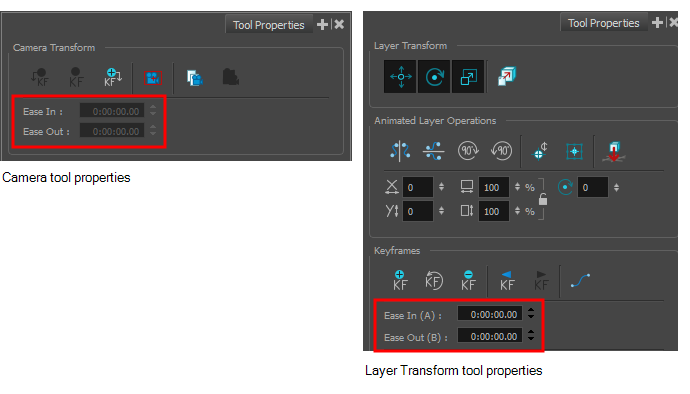
With the Camera or Layer Transform tool selected, the Ease In/ Ease Out parameters become available in the Tool Properties view.

![]() How to set ease in or ease out for a keyframe
How to set ease in or ease out for a keyframe
- In the Timeline view, select a keyframe.
- From the Tools toolbar, select the Camera
 tool or Layer Transform
  tool.
tool.
- Do one of the following:
| ‣ | Ease In: In the Ease In section of the Tool Properties view, enter the duration of the ease in after the first frame in which the gradual change in camera or layer movement begins. For example, if you want to slowly accelerate to the normal camera or layer speed from frame 1-10, enter a value of 10. |
| ‣ | Ease Out: In the Ease Out section of the Tool Properties view, enter the duration of the ease out after the first frame in which the gradual change in camera or layer movement begins. Enter the number of frames before the last frame in which the change in camera or layer movement is gradual. |
Importing Images to Library
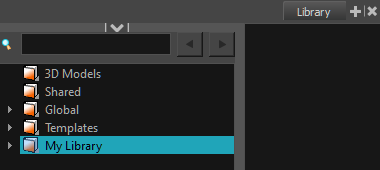
- In the Library view, right-click a library folder and select Import Files.

The browser window opens.
- Find and select an image file and click Open.
The selected file appears in the Library view as a .tpl file inside the selected library folder.


