Installing fonts on Mac – once you have your .ttf file, right click and open with FONT BOOK and then press INSTALL FONT
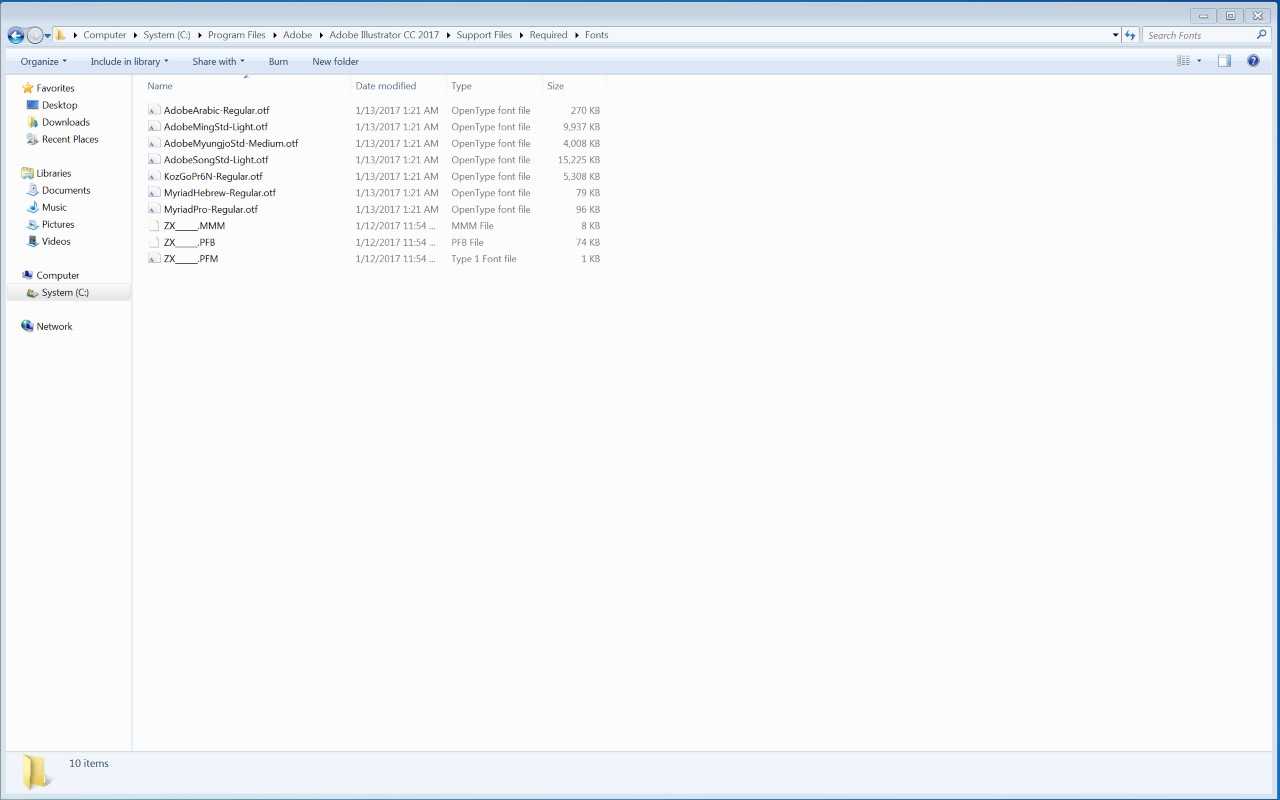
Installing fonts on PC – drop your .ttf file in this folder
Computer>System (C)>Program Files> Adobe>Adobe Illustrator CC 2017>Support Files>Required>Fonts
web based font makers:
for thinner font designs – https://glyphter.com
http://www.pentacom.jp/pentacom/bitfontmaker2/
font design book:
http://designwithfontforge.com/en-US/What_Is_a_Font.html
font design lecture:
A video lecture from Type Designer Aoife Mooney
Free fonts (inspiration):
http://www.creativebloq.com/graphic-design-tips/best-free-fonts-for-designers-1233380
free downloadable programs:
for mac/pc: https://birdfont.org
for mac/pc/linux: http://fontforge.github.io/en-US/
for mac: http://www.fontconstructor.com/screenmovie/index.html
for pc: http://www.cr8software.net/typelight.html
FONT Building basics:
The following images (taken from the Fontforge book, link above) show some basic shapes and structures you can use to build letters quickly. Try building these shapes FIRST so that you can reuse the to build many of your letters.
Stems- use for A, B, D, E, F, H, I, J, K, L, M, N, P, R, T, V, W, X, Y, Z
Bowls- use for B, C, D, E, G, J, O, P, Q, R, S,
Terminals- use this to finish the ends of your ascenders or descenders, consider designing one style of terminal and reuse it.
use for – C, G, J, R, S, U, V and lowercase f, g, j, p, q, y

Ascender and Descender- consider the height and angle of the ascenders and descender, consider reusing these shapes as well.

Slant- a slant can give the viewer a sense of movement, or of a hand drawn letter, consider the slant you use on you letters. You can use the Illustrator transform tools to exaggerate this.

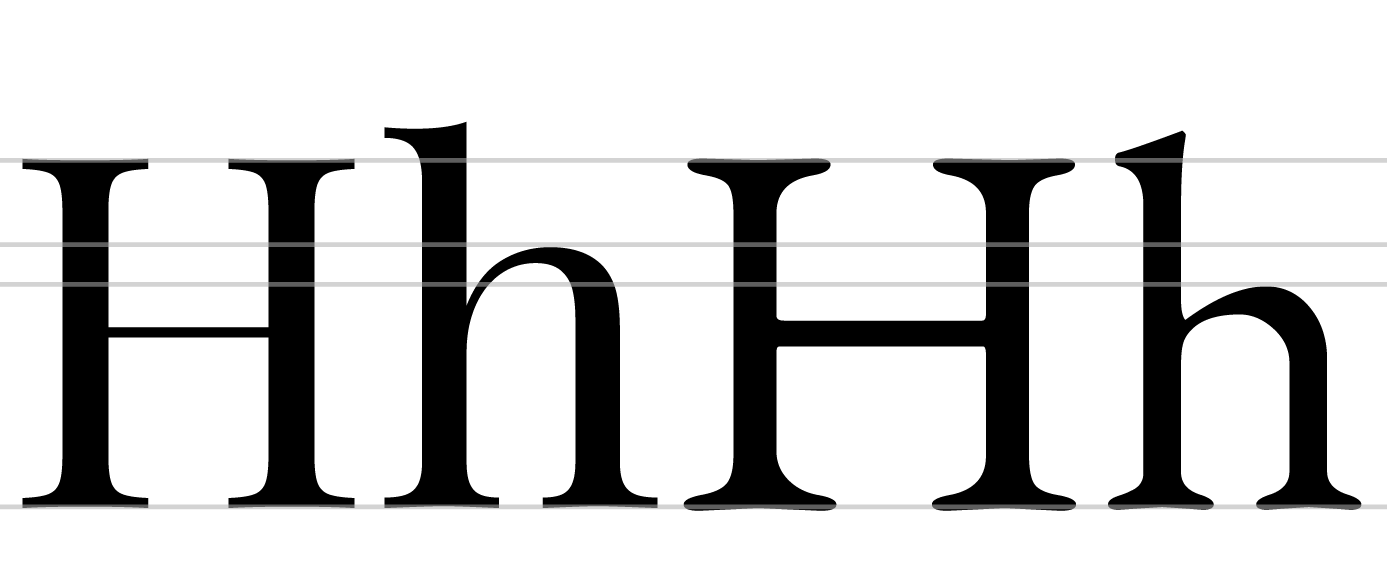
Height of Cap-Height and X-height
Consider the relationship between your Capital letter heights (cap-height) and the height of you lowercase letters
(x -height). Look at the two letters next to each other and find an aesthetically pleasing relationship.
Creating Illustrator Guidelines
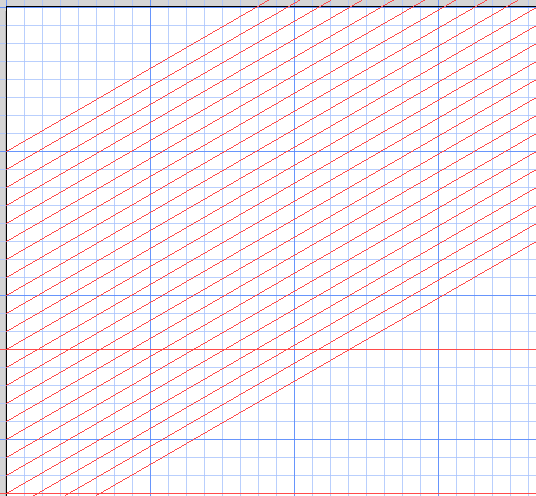
You may want to create additional angled guidelines in illustrator to help you design your letters.
Steps:
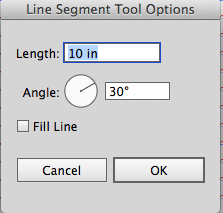
1. Use the line tool to create an angled line. You can set the specifics by clicking (don’t drag) on your document with the line tool.
2. Now select the line, and right-click and choose MAKE GUIDE to convert the line into a GUIDE.
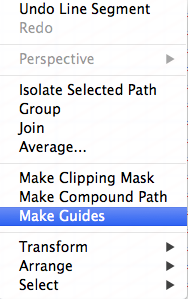
3. Now make sure that your guides are not locked, Illustrator may have locked it. Right Click and check to make sure that Lock Guides is NOT checked.
4. Make sure that you document is set to snap to grid, VIEW>SNAP TO GRID.
5. Now hold the Alt/Option key on your keyboard and drag a copy of your newly created grid line.
6. Now you can press COMMAND+D to copy that guideline, keep pressing COMMAND+D until you have filled your entire document with grid lines! DONE!
